Getting Started with Operation Center
1 Introduction
Welcome to your business management hub. This center clearly guides you through the entire process — from product setup and store operations to online business and financial controls — while enabling smooth collaboration across group, brand, and store levels. For both daily tasks and new store openings, it provides standardized step-by-step guidance to help your team work more efficiently.
2 Getting Started with Operation Center
Get to know the core value, navigation logic, and multi-view permissions of the Operation Center. By completing foundational workflows like adding your first dish, you’ll build a solid base for more advanced tasks.
2.1 Welcome: Core Value & User Roles
What Problem We Solve?
Integrates product, restaurant, and online business management into one platform, enabling efficient collaboration across “Headquarters Planning - Brand Control - Store Execution.”
Who Uses It & How?
- Group Administrator: Manages the entire corporate structure (brands/locations), configures global rules (e.g., uniform tax rates), and views cross-brand data.
- Brand Administrator: Manages stores under the brand, creates brand-level product/menu templates, and unifies marketing rules.
- Store Administrator: Performs daily operations, such as product listing and order processing, and can modify store-level configurations (e.g., store-specific pricing).
- Finance Personnel: Responsible for finance-related configuration and review.
2.2 How to Navigate: Main Menu & Core Workflows
-
Main Menu Navigation
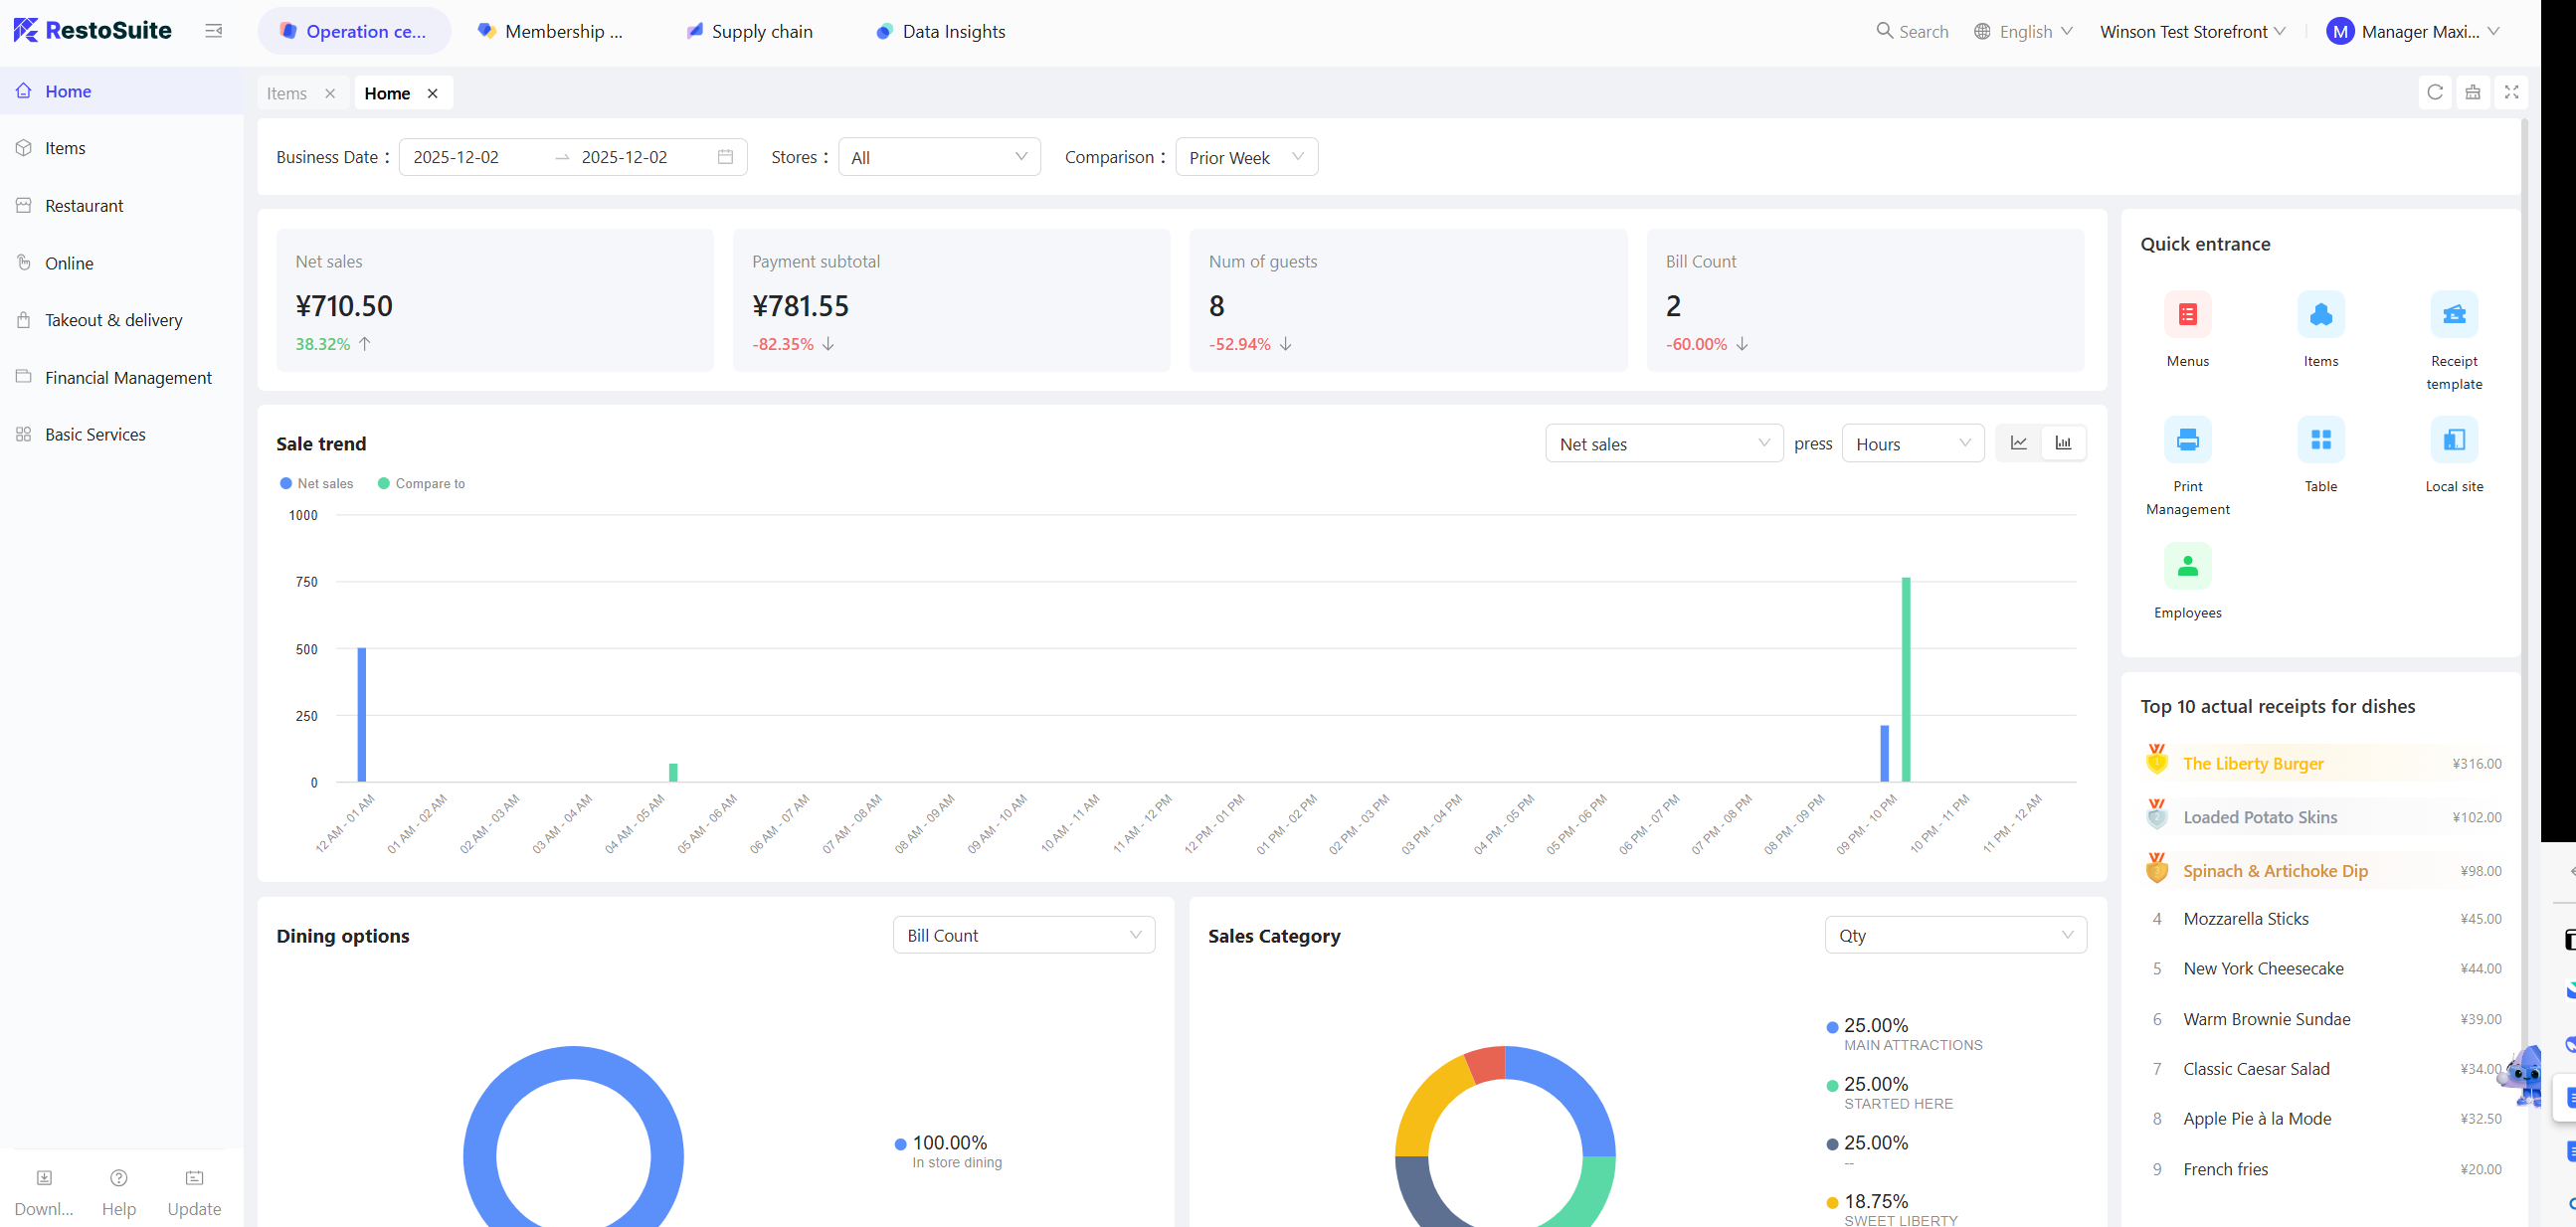
- The top navigation bar includes:
- Operation Center
- Member Marketing
- Supply Chain
- Data Insights
- In the Operation Center, the left sidebar lists its sub-menus (e.g., Product Management, Restaurant Management). Use the top search bar to quickly locate any function at any time.
- The top navigation bar includes:
-
Core Workflows:
- New Store Opening Flow: Create store profile → Configure service areas/tables → Add products/categories → Build menus → Set up payment/order fulfilment rules → Publish the operational plan.
- Daily Update Flow: Modify products/menus → Submit change request → Review → Deploy to stores → verify and activate.
2.3 Understanding Group, Brand & Location Views
-
First, understand the organizational hierarchy within the system, as it forms the foundation for all features and permissions.
- Group: The top-level entity that manages multiple brands, responsible for global rules and resources.
- Brand: A business unit under the corporation, with its own identity and strategy, responsible for its standards and operations.
- Store: The customer-facing venue where daily operations are executed, the fundamental unit of the business. In simple terms, the relationship is: Corporate > Brand > Store. This ensures coordinated management and flexible operations.
-
View Switching - How to Change Levels?
- After login, you can quickly switch between Group, Brand, and Store views using the “View Tab” at the top of the page.
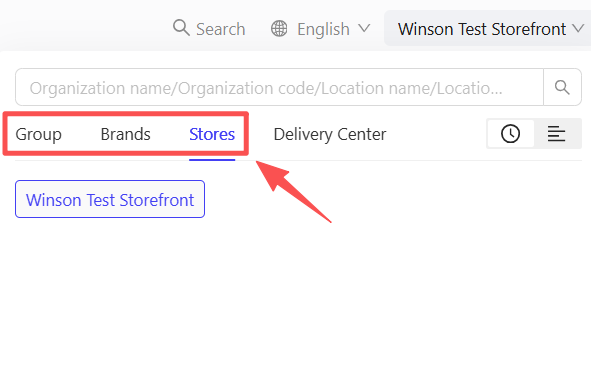
- After login, you can quickly switch between Group, Brand, and Store views using the “View Tab” at the top of the page.
-
Multi-View Function Differences - What You Can Do at Each Level? Group View:
- Manage organizational structure (brands/stores)
- Configure global rules (taxes, payments)
- Access cross-brand analytics
- Assign group-level permissions Brand View:
- Create brand-specific assets (menus, templates)
- Set brand operational standards
- Monitor store compliance
- Access brand-level reports Store View:
- Execute daily operations
- Customize store-specific settings
- Access store-level data