Online Restaurant Gift
1 Module Introduction
The Online Restaurant Gift activity is an interactive online marketing tool for catering merchants. Its core function is to display offers via pop-ups on the store’s online pages (homepage, ordering page, etc.), using coupons as gifts to encourage users to claim and make purchases. This not only boosts user engagement and order conversion rates but also precisely targets the intended customer base, enhancing user loyalty.
2 Configuration Guide
2.1 Accessing the Feature
- Log in to the SaaS platform backend
- Navigate to【Membership Marketing】>【Marketing】>【Marketing Activities】.
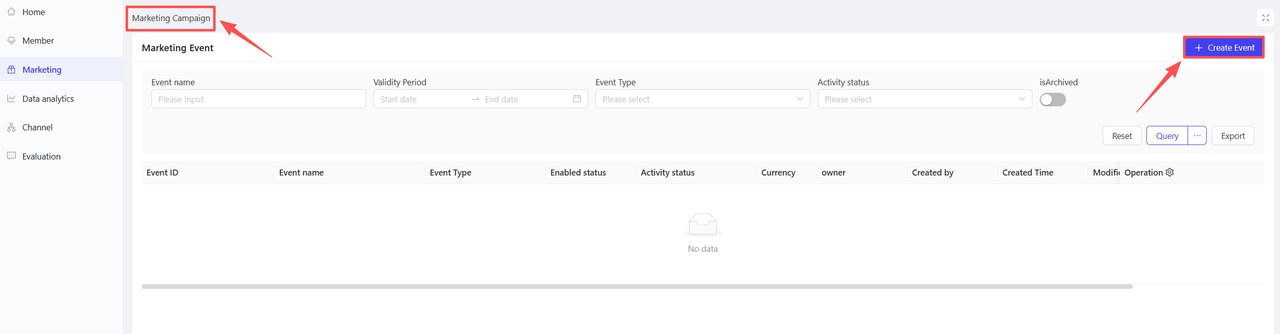
- Click【Create Activity】in the upper-right corner of the page, select the Online Restaurant Gift module.

2.2 Basic Settings
- Fill in the basic activity information
-
Activity Name: Required. Choose a name that is easy for customers to identify.
- Example: “New User Exclusive Gift!”
-
Activity Code: A unique internal identifier for tracking and reporting.
-
Validity Period: Select the start and end dates of the activity to ensure a reasonable timeline
-
Description: Briefly outline the activity details and rules for clarity.
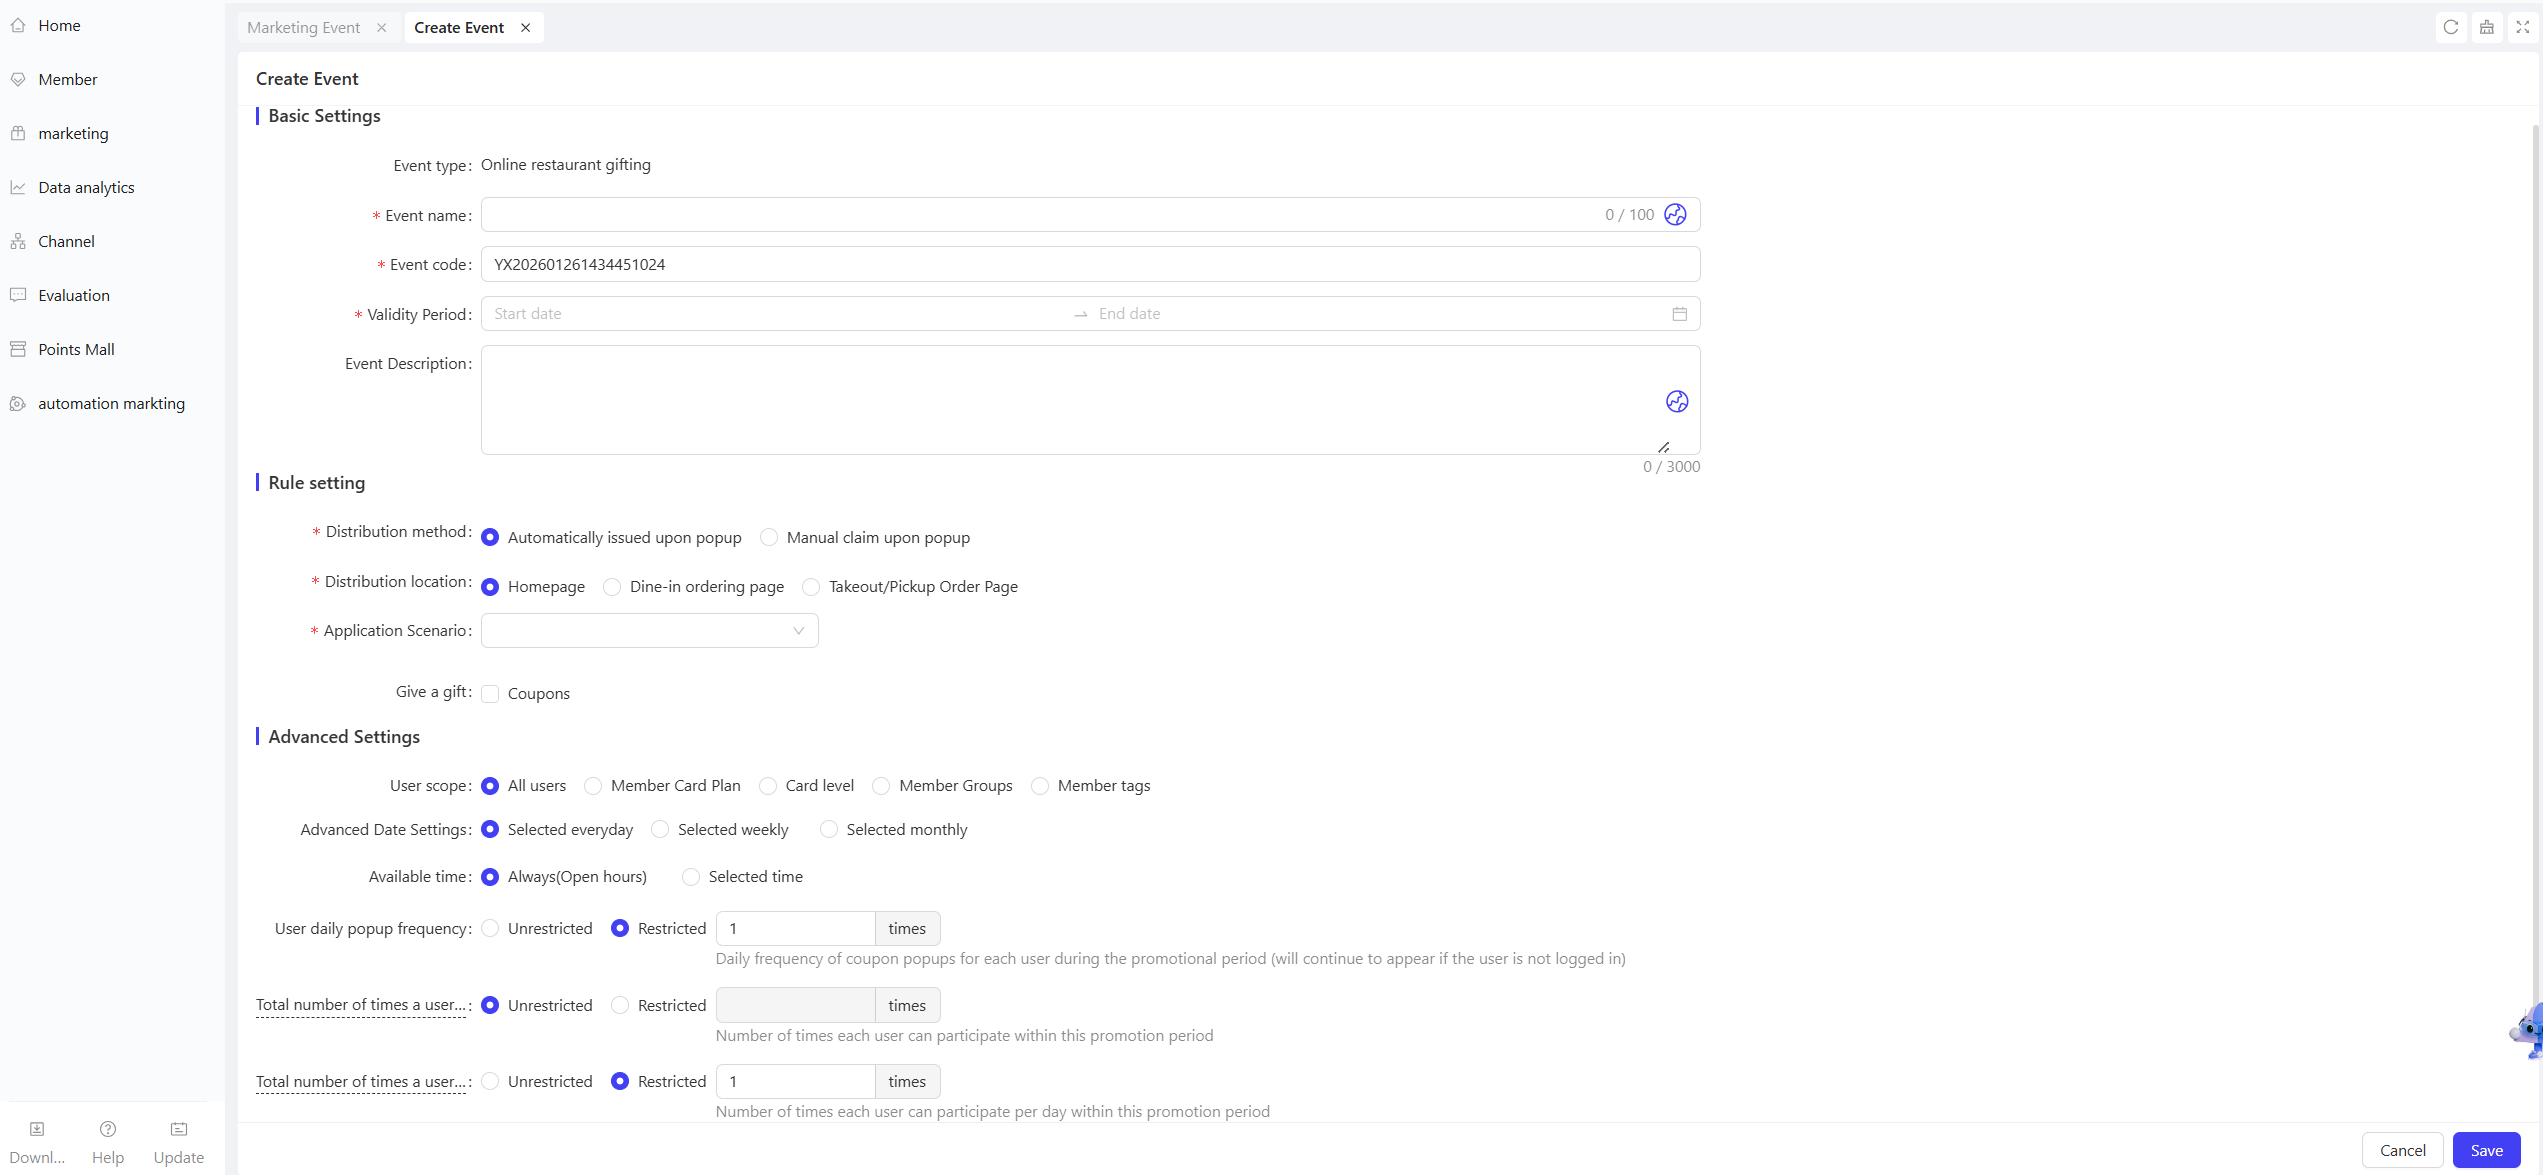
2.3 Rule Settings
Configure core rules for coupon distribution, display, and gift details to ensure the activity runs smoothly. Specific settings are as follows:
-
Distribution Method: Select one of the two options below
- Auto-Distribute on Pop-Up:
- Logged-in Users: Coupons are automatically credited to the user’s account when the pop-up is triggered, no manual action required, improving redemption efficiency.
- Non-Logged-in Users: Only the pop-up content is displayed; users must manually claim the coupon.
- Manual Claim on Pop-Up:
- Logged-in Users: A “Claim Now” button is displayed in the pop-up; coupons are credited to the account once clicked.
- Non-Logged-in Users: Clicking the claim button redirects to the login/registration page. After successful login, users must click the claim button again to receive the coupon.
- Auto-Distribute on Pop-Up:
-
Display Position: Select where the coupon pop-up appears on the store’s online pages
- Homepage: Pop-up displays on the store’s online homepage, covering all users who enter the homepage; the applicable store configuration option is hidden when this position is selected.
- Dine-In Ordering Page: Pop-up only appears when users access the dine-in ordering page.
- Takeaway/Self-Pickup Ordering Page: Pop-up only appears when users access the takeaway or self-pickup ordering page.
-
Gift Configuration: Set up specific gifts to be offered
Note
Gift Type: Only coupons are supported as gifts.
Quantity Limit: A maximum of 10 coupons can be added, allowing combinations of coupons with different denominations and usage thresholds.
For each added coupon, configure the following information:
- Gift Name: Select the specific coupon here.
- Gift Quantity: Enter the number of coupons available.
- Validity Type: Choose the coupon validity period type (Relative Validity or Fixed Validity), then configure details:
- Relative Validity: Validity period starts from the date the user claims the coupon.
- Example: “Valid for 7 days after claiming”
- Fixed Validity: Coupon is valid within a specific fixed timeframe, regardless of the claim date.
- Example: “Valid from 2024-11-01 00:00:00 to 2024-11-11 23:59:59”
- Relative Validity: Validity period starts from the date the user claims the coupon.
- Applicable Stores
When the display position is set to the Dine-In Ordering Page or Takeaway/Self-Pickup Ordering Page, select the specific stores where the activity applies. You can select all stores or a subset (e.g., by region).
2.4 Advanced Settings
-
User Scope: Select the target user group for the activity based on one or more of the following five dimensions:
- All Users: Applies to all users.
- Membership Card Plan: Filter users by one or more membership card plans.
- Membership Card Tier: Filter users by different tiers under a membership card plan.
- Membership Group: Filter users by one or more membership groups.
- Membership Tag: Filter users by one or more membership tags (e.g., new users, existing users).
-
Advanced Date Settings: Set the effective date range for the activity. Choose by Day/Week/Month, then select specific dates (e.g., “Friday” for weekly, “1st, 15th, Last Day” for monthly).
-
Effective Time: Set the effective time range for the activity:
- If the applicable date is set to “By Day”, the effective time can be set to All Day or a specific time period.
- If the applicable date is set to “By Week/Month”, the effective time can be set to All Day/Unified Time for All Dates (e.g., 10:00 - 22:00)/Independent Time for Each Date.
-
Daily Pop-Up Frequency per User: Set how many times each user sees the coupon pop-up per day during the activity (Unlimited or Limited):
- Unlimited: The pop-up appears every time the user logs in.
- Limited: Enter the specific maximum number of displays.
-
Total Participation Limit per User: Set the maximum number of times a user can participate in the activity (Limited or Unlimited) (e.g., “Maximum 3 participations per user”).
-
Daily Participation Limit per User: Set the maximum number of times a user can participate in the activity per day (Limited or Unlimited) (e.g., “Maximum 1 participation per day”).
3 Activity Activation & Management
-
Activity Activation
- After completing all configurations, click “Save” to activate the activity.
-
Activity Management & Monitoring
- View activity performance data (e.g., number of orders, participation metrics) on the activity Management page.
- Pause or adjust the activity at any time; manually archive the activity if necessary.
4 Page Decoration
On the Page Design page, customize elements such as the page background color and title color. Click【Publish】after completion.
5 User Journey (End-User Experience)
- Auto-Distribution Path:
User Login → Access Corresponding Online Page (Homepage/Ordering Page) → Pop-Up Automatically Triggered → Coupon Auto-Credited → View Coupon/Direct Purchase
- Manual Claim Path:
User Accesses Corresponding Online Page → Pop-Up Triggered → Click [Claim Now] → Redirect to Login/Registration (if not logged in) → Click Claim Again After Login → Coupon Credited → View Coupon/Direct Purchase