Device Setup & Login
(For Cashiers / Servers / Store Managers)
1 Introduction
This guide covers device binding and user login procedures for the POS system, including device setup, Employee login, offline handling, and issue resolution.
2 Device Setup & Binding
2.1 First-Time Device Binding
Q: How to complete first-time device binding?
-
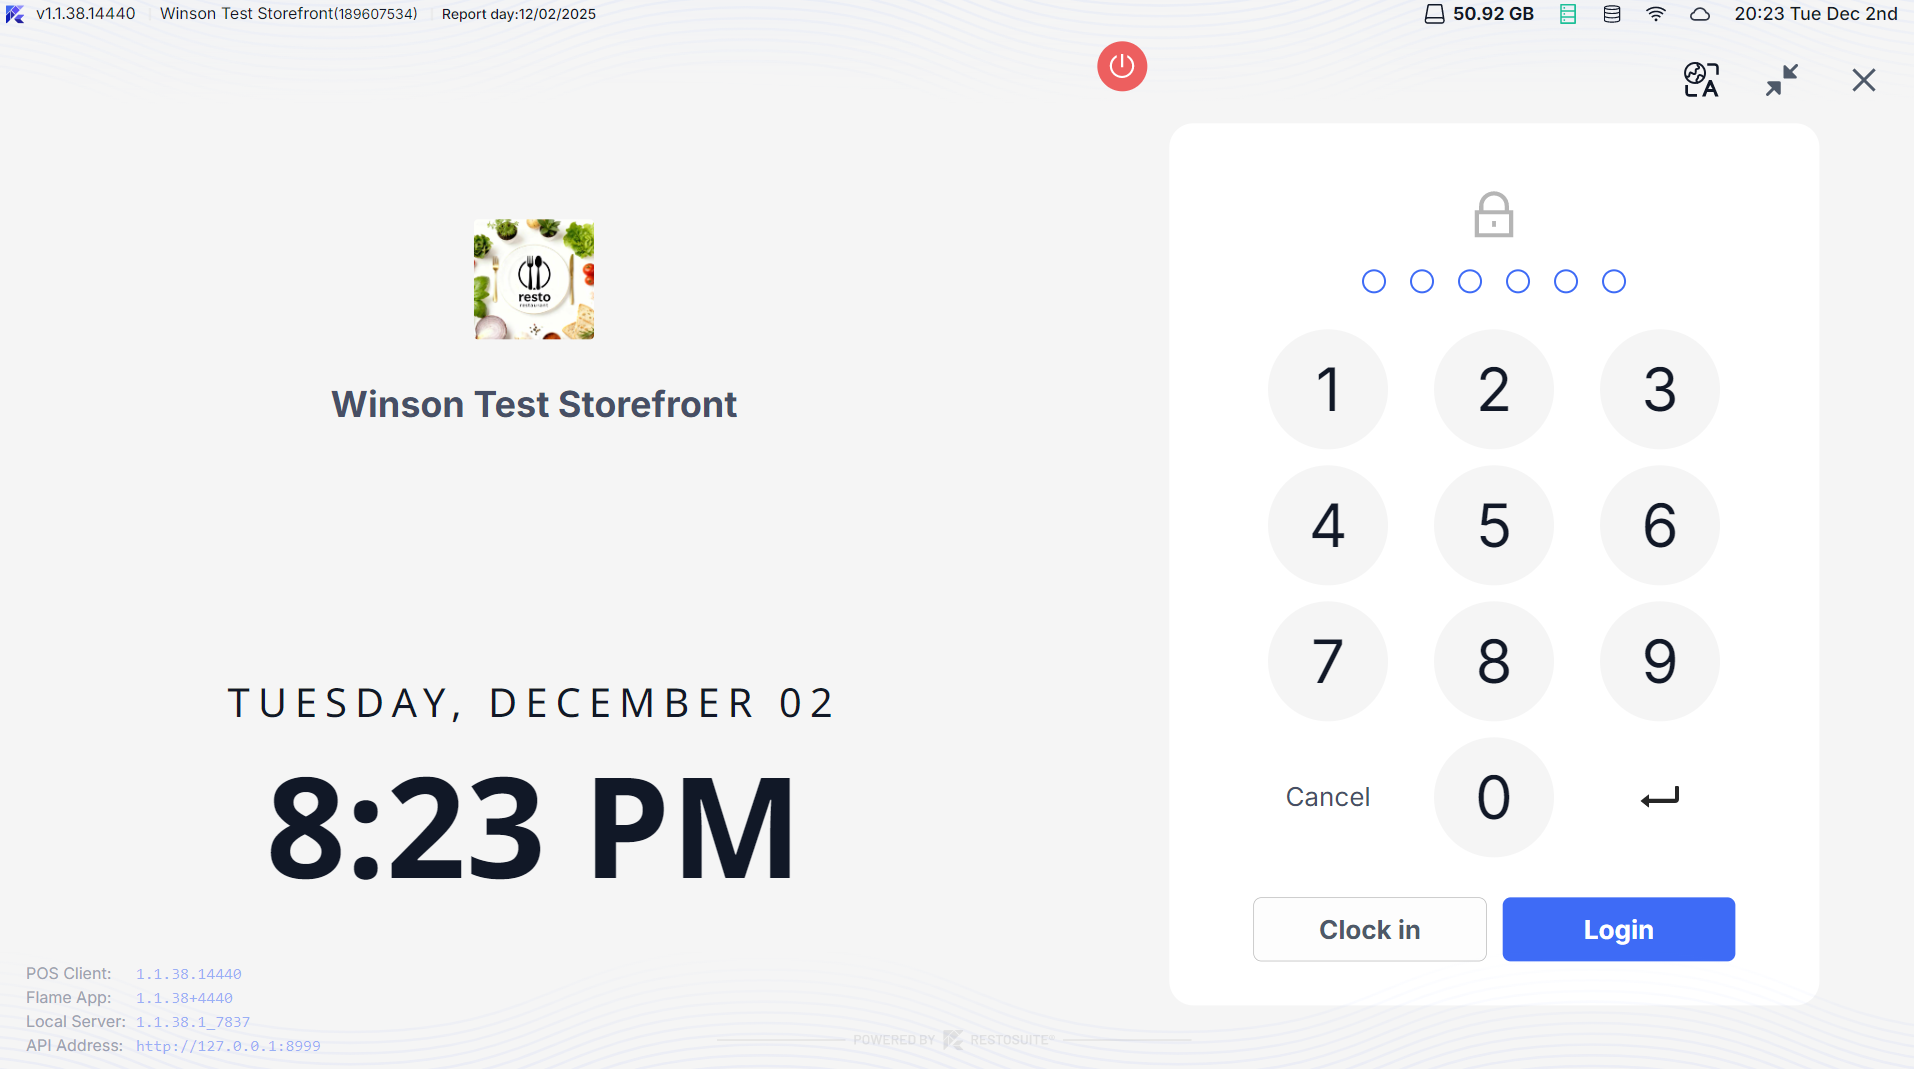
Step 1: Power on the POS system: When a new device is turned on for the first time, it automatically enters the initialization page and displays the message “Device not bound, please complete binding.”
-
Step 2: Choose a binding method:
- QR Code Binding: Click【QR Code Binding】and use the store manager’s phone to scan the QR code on the screen, then confirm binding on the BO end (manager login to BO required, select the corresponding store).
- Manual Input Binding: If QR code scanning fails, click【Manual Input】and fill in three types of information:
- Group ID (found in【Basic Services → Organization Management】on the BO end).
- Store ID (available on the store details page).
- Device Number (system-generated or custom input like “POS-01”).
-
Step 3: Complete Binding: Click【Confirm Binding】and the system syncs the store’s basic data (menu, tables, permissions, etc.). Once the sync is complete, it automatically redirects to the login page.
2.2 Device Unbinding and Rebinding
2.2.1 Device Unbinding (Admin Only)
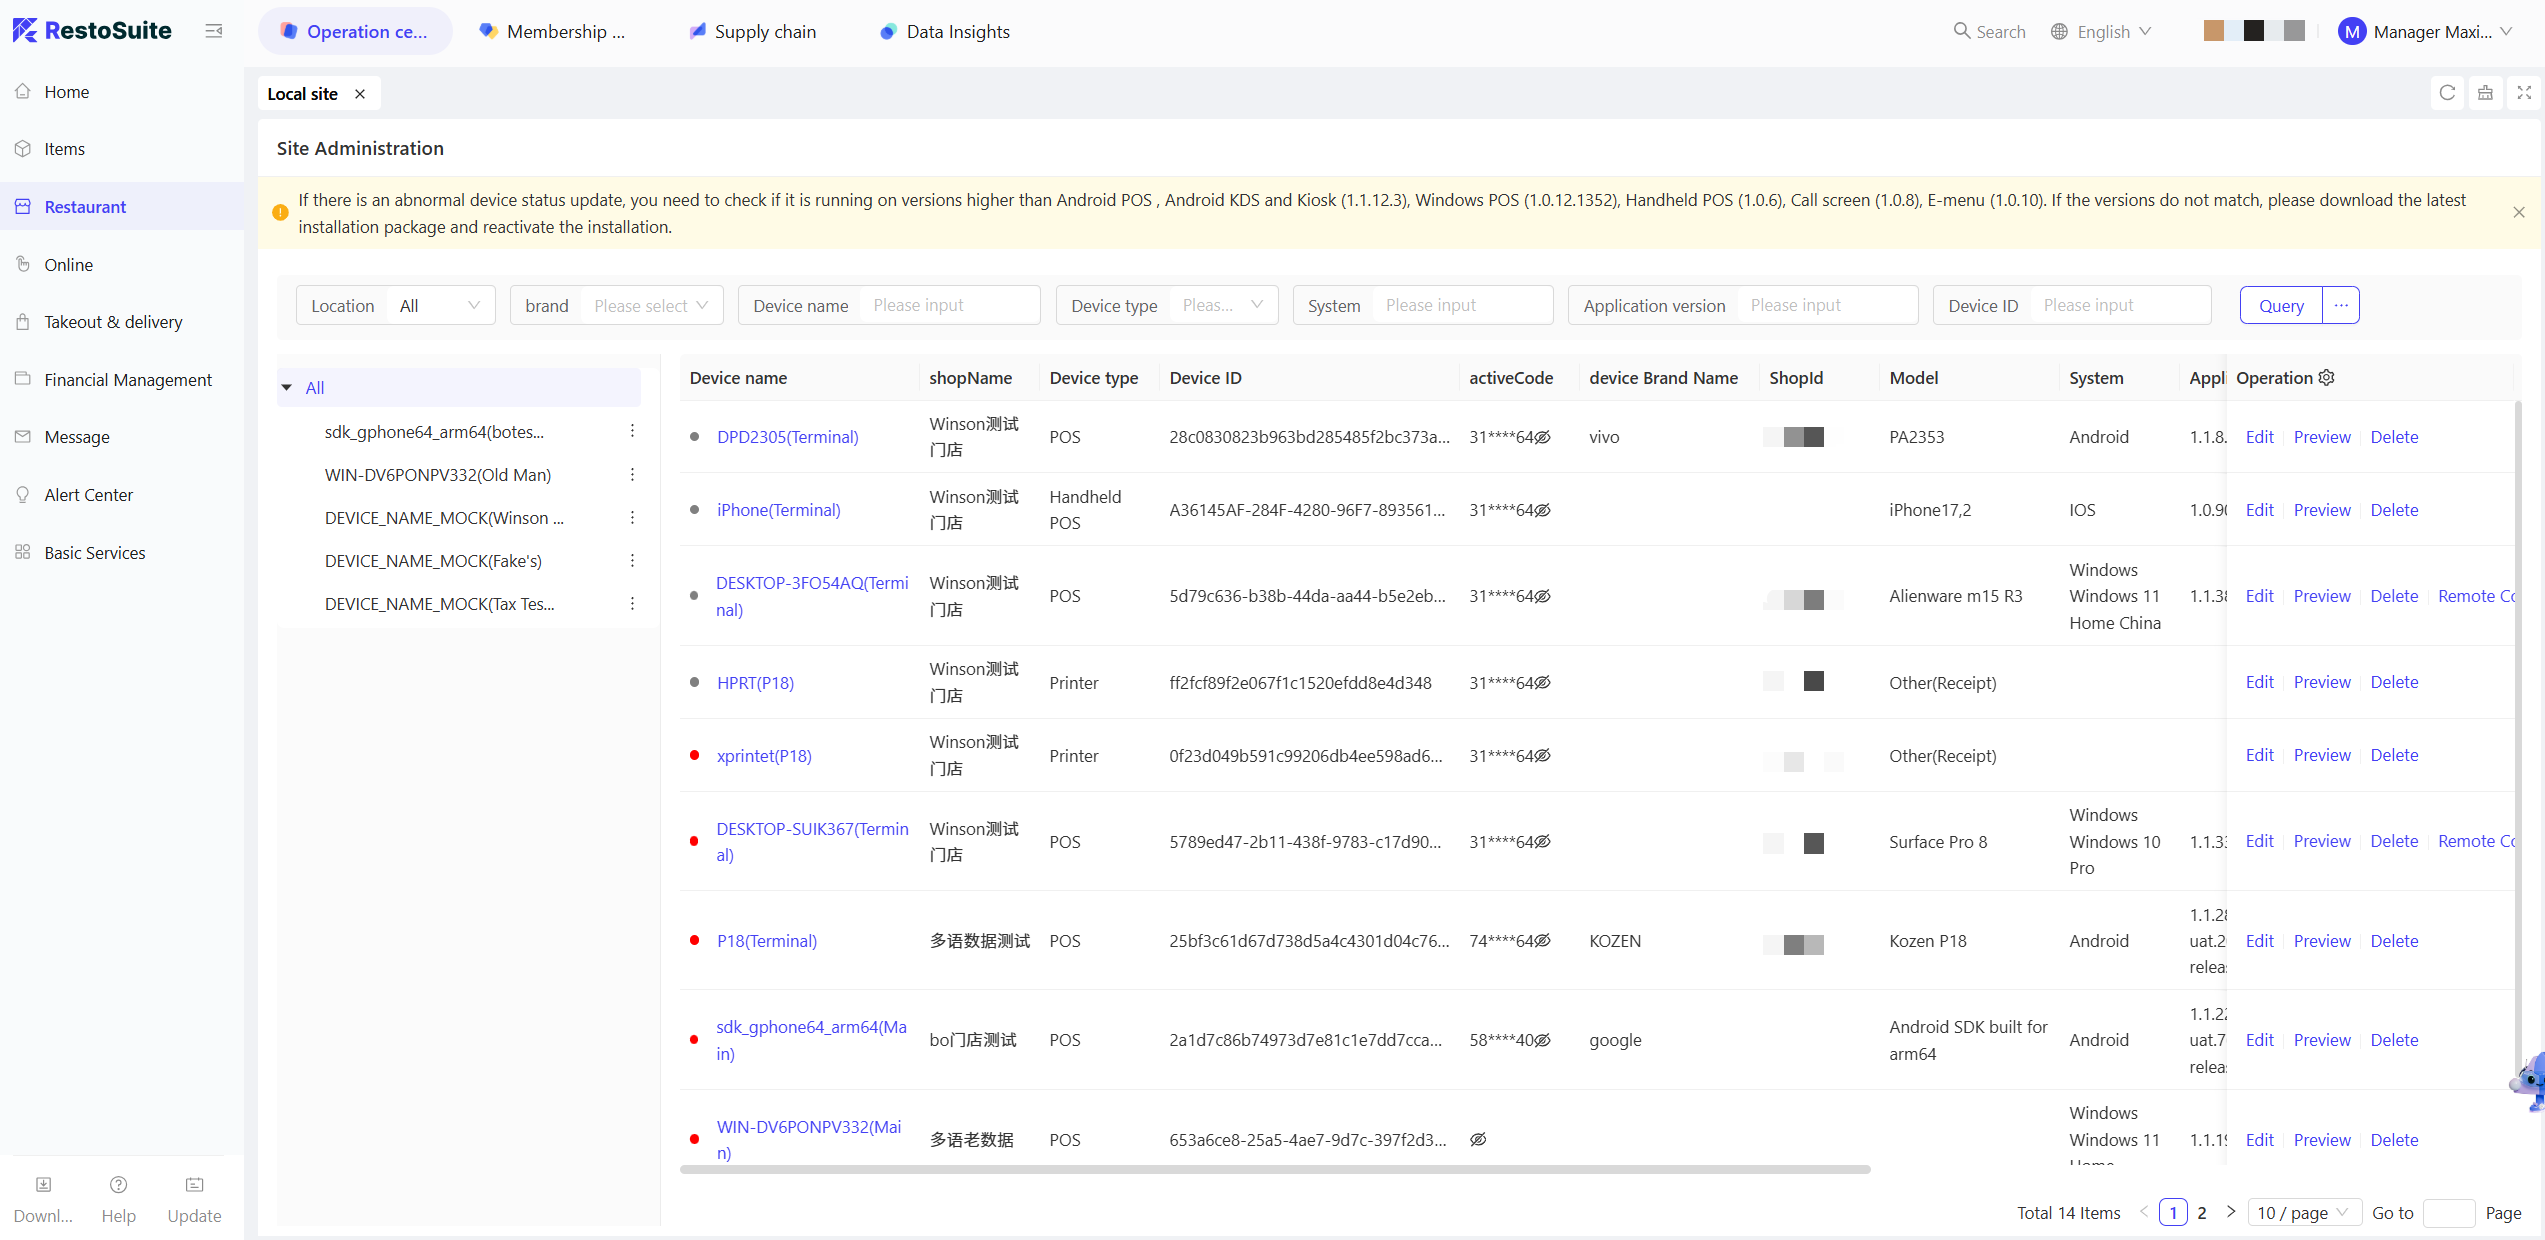
- Step 1: Login to the BO end, navigate to【Restraurant - Device Management】and locate the target POS device.
- Step 2: Click【Unbind】, select the reason for unbinding (e.g., “Device Replacement,” “Store Closure”), and confirm to complete the unbinding process.
- Step 3: The POS will receive a “Device Unbound” notification and will automatically log out, returning to the initialization page.
2.2.2 Rebinding
- Restart the unbound device and repeat the steps to “1.1”
If the device was previously bound to another store, it must first be unbound from the original store before binding to a new store.
3 User Login (Employee/Employee Accounts)
3.1 Account Type
The system supports two types of account logins, with different permissions and login methods. Confirm the account type first:
Account Type | Applicable Users | Login Method | PIN/Password Rules | Permission Scope |
|---|---|---|---|---|
Employee Account | Headquarters Employee / Multi-store Managers | PIN Code Login | Group-wide unique, 4-6 digits | Can log in to multiple stores (with permissions) |
Employee Account | Single Store Employees / Cashiers | Account Password Login | Store-unique, 4-6 digits | Only log in to their own store |
3.2 Employee Account Login (PIN Code)
-
Enter Login page: After device binding, the PIN code login page is displayed by default, with the store’s logo, name, and address at the top.
-
Enter PIN Code:
- Use the on-screen number pad to input a 4-6 digit PIN code
💡Set in "Employee Account" on the BO end, unique within the group
If the PIN code format is incorrect (e.g., less than 4 digits), a pop-up will alert "PIN code must be 4-6 digits, please re-enter."
-
Role Selection (for multi-role Employees):
- If the account is associated with multiple roles (e.g., “Cashier + Manager”), a role selection box will pop up after login. Click on the desired role (e.g., “Cashier”).
- If only one role is associated, this step is automatically skipped, and it goes directly to the main page.
-
Complete Login: After role confirmation, the system loads functions corresponding to the user’s permissions (e.g., order taking, checkout, reports), entering the main menu page.
3.3 Employee Account Login (Account Password)
3.3.1 Creating Employee Account on BO (Admin Operation)
-
Step 1: Login to the BO end, navigate to【Basic Services → Employees → Employee Management】and click【Add Employee】
-
Step 2 : Fill in core information:
- Required:
- Employee Name
- Store (can only select current and lower-level stores)
- Login Name (custom, e.g., “store01-zhang”)
- Password (6-12 characters, including letters + numbers)
- Role (e.g., “Server”)
- Optional: Phone Number, Email, Employment Date.
- Required:
-
Step 3: Click【Save】and the account syncs to the corresponding store’s POS.
3.3.2 Employee Login on POS
-
Click【Switch to Account Password Login】on the login page to switch to the account password input page.
-
Enter “Login Name + Password”:
💡Login Name: Set on the BO end (case-sensitive).
Password: Set on the BO end (displayed as “*” when entered).
-
Click【Login】. Upon successful verification, it directly enters the main page (Employee accounts have only one role by default, no selection needed).
-
If Login Failure :
- Username Not Found: “Login failed, username not found, please verify.”
- Incorrect Password: “Login failed, incorrect password, 2 retries left” (the account is locked for 10 minutes after 3 consecutive failures).
- Account Left: “Login failed, account has left, cannot log in.”
3.4 Additional Functions on the Login page
3.4.1 Language Switching
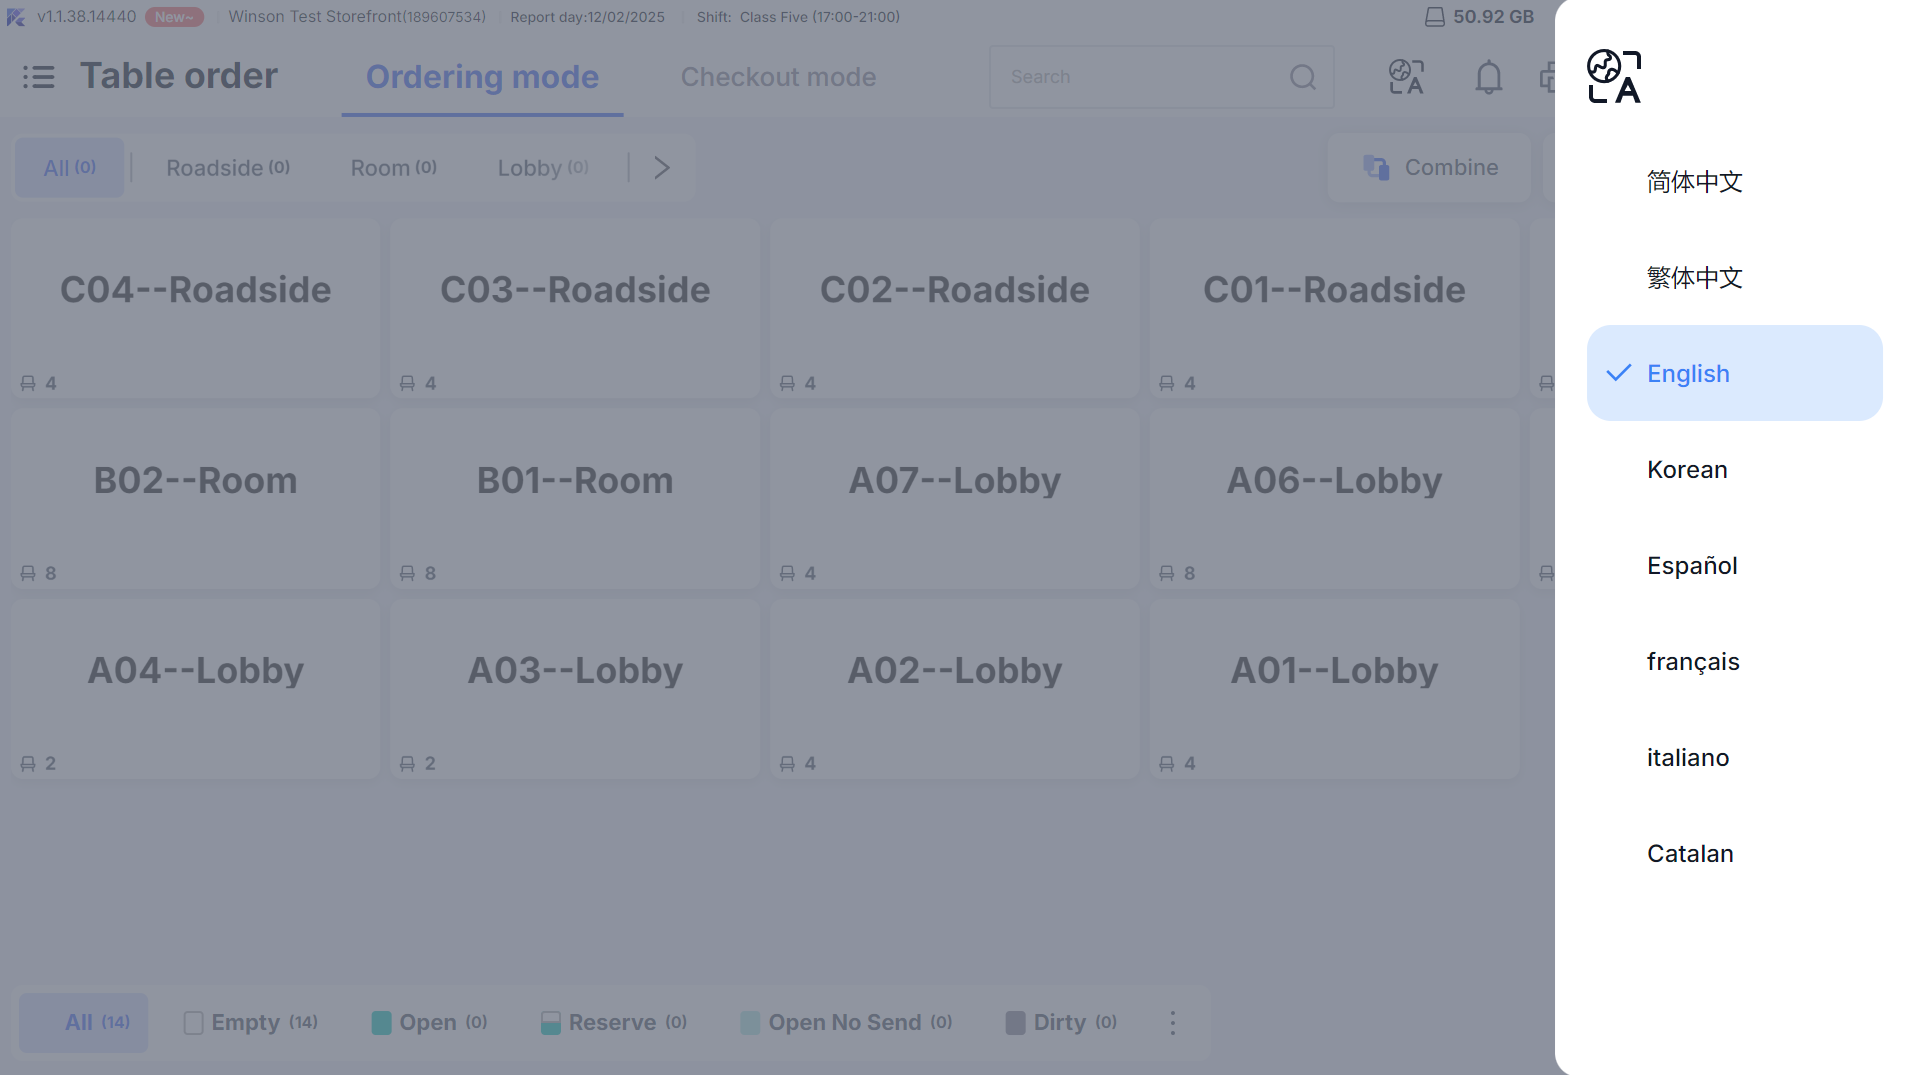
- Click the language icon (e.g., “EN”) in the upper right corner of the login page to expand the language list (such as Simplified Chinese, English, Spanish).
- Select the target language, and the page text will switch in real-time (next login defaults to the last chosen language).
3.4.2 Version and Server Identification
- The bottom of the login page displays two types of information:
- Version Information: e.g., “Version:1.0.0, Build:02321” (used for troubleshooting version issues).
- Server Identification: If the device is a Local Server, it displays the “Server” tag; non-server devices do not display this.
4 Special Login Scenarios
4.1 Offline Login (External Network Unavailable)
4.1.1 Conditions Supporting Offline Login
- The device has completed the initial binding, and the Local Server has synchronized basic data (menu, accounts, permissions).
- The login account is an “Employee account” or an “employee account with cached PIN” (new employee accounts cannot be verified offline).
4.1.2 Offline Login Steps
- When the external network is down, the login page header displays an “Offline Mode” indicator (orange background + offline icon).
- Step 1: Enter the PIN code/account password as usual. The system prompts, “Currently no external network, logging in with local cached data.”
- Step 2: Click【Confirm Login】to enter the offline mode main page
Supports local operations only: opening a table, ordering, cash payment
Online orders and member functions unavailable
- Step 3: As soon as the internet connection is back, the system syncs your offline work and the full POS functionality is immediately restored.
4.2 Multi-Device Login
- The same employee account supports login on multiple devices (e.g., an administrator simultaneously logging into the cash register POS and kitchen display system).
- The same clerk account only supports login on one device
5 Main Menu Configuration
5.1 Main Menu Style Selection
The system supports “Persistent Main Menu” and “Default Floating Menu” styles.
5.1.1 Enable Persistent Main Menu
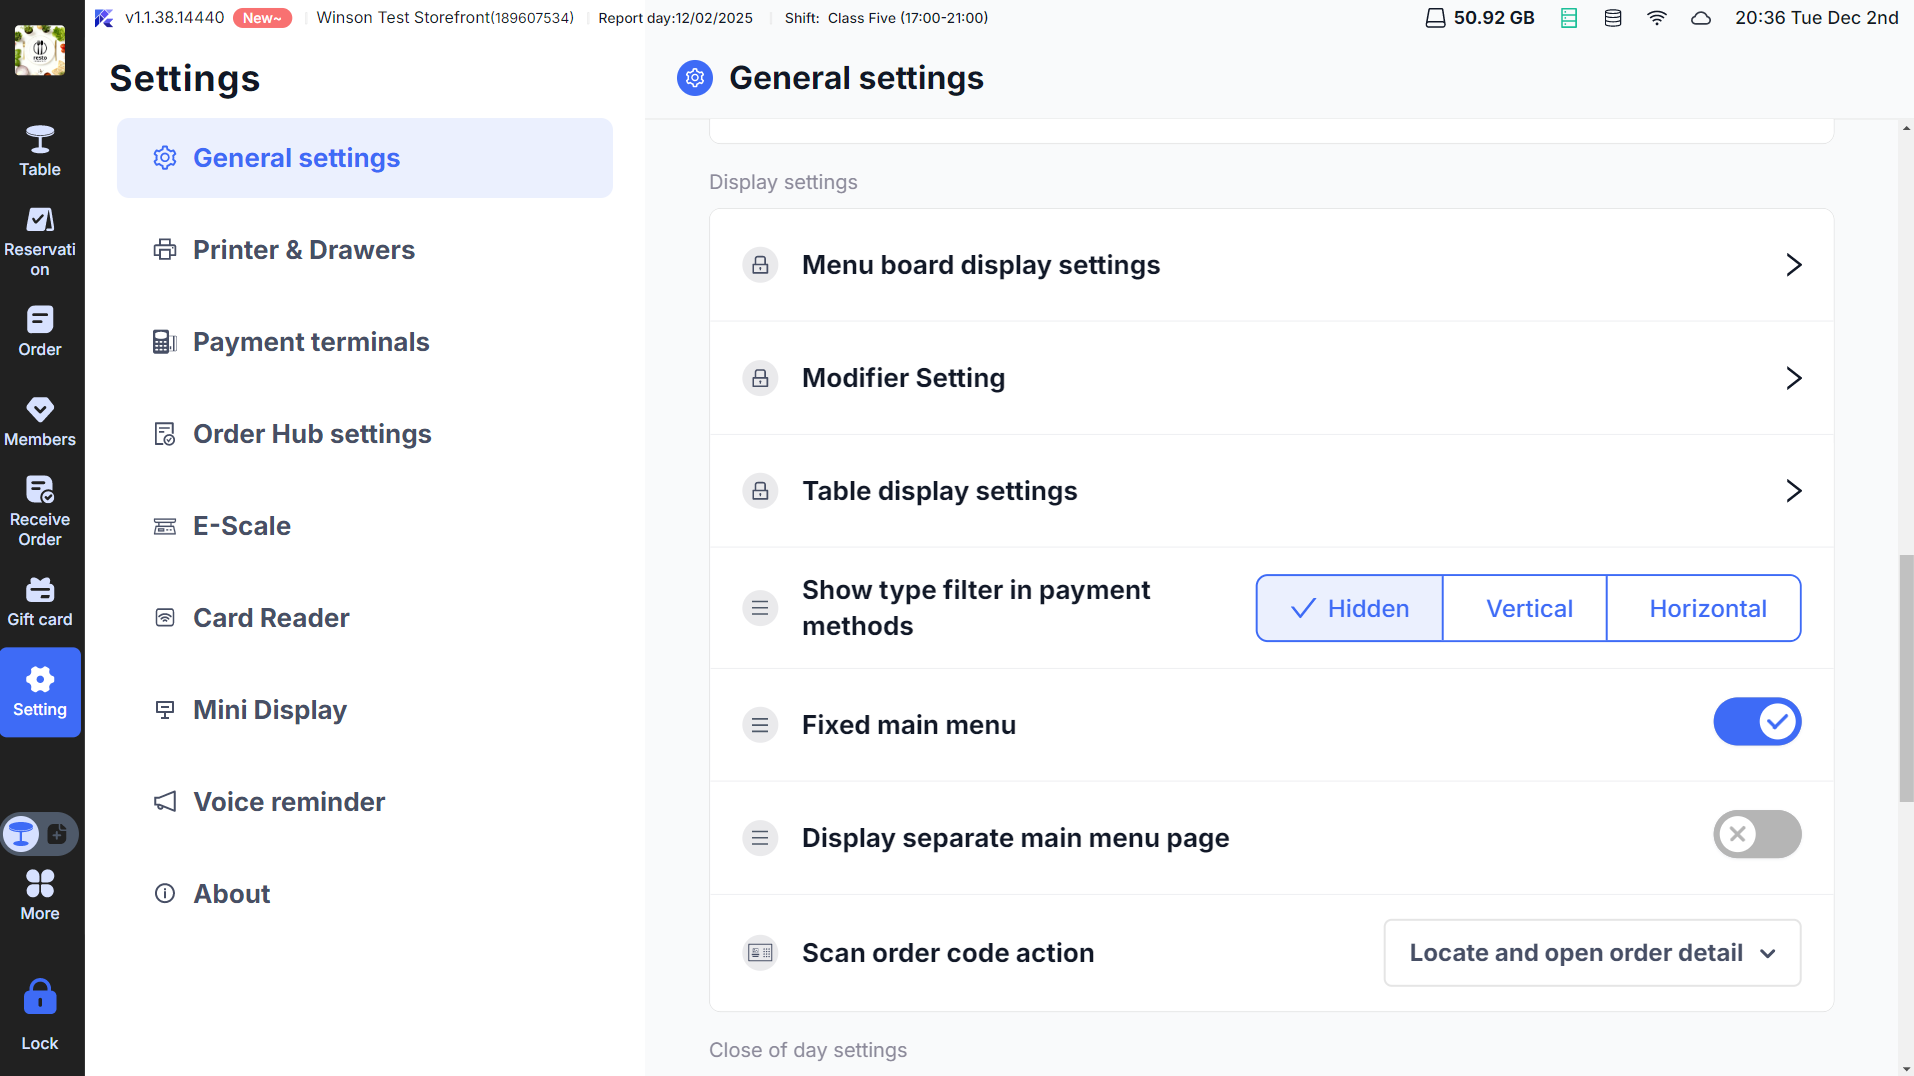
- After logging into POS, go to【Settings→Display Settings】and find the【Persistent Main Menu】option, then turn on the switch.
- After configuration, the persistent menu bar will be fixed on the right of all pages, including:
- Top: Store LOGO
- Middle: Frequently used function buttons (up to 9, such as tables, ordering, orders, taking orders). Functions exceeding 9 will go into【More】
- Bottom: 【Lock】button (click to return to the login page).
5.1.2 Restore Default Floating Menu
- In【Settings → Display Settings】turn off the【Persistent Main Menu】switch.
- The main menu changes to a floating style, click the【3 horizontal lines】icon at the top left of the page to call out, and it automatically hides after use.
5.2 Main Menu Function Customization (Admin)
- Login to BO, go to【Basic Services → POS Configuration → Main Menu Configuration】and select the corresponding store.
- Customize function buttons:
- Drag to adjust function order (e.g., move “Take Orders” to the second position).
- Hide functions that don’t need to be displayed (e.g., hide “Banquet Management” if no banquet business).
- Click【Save】and it will take effect after POS restarts.
6 Login Issues and Solutions
6.1 FAQs
- Issue: PIN code login shows “No role permissions”
- Possible Causes: Account not configured with POS role, or role lacks login permissions
- Solution:
- Admin login to BO, go to【Employee Account → Permission Configuration】
- Add “POS Login Permissions” role (e.g., “Cashier”).
- Retry login
- Issue: Unable to login offline
- Possible Causes: Device hasn’t synchronized basic data, or is a new account
- Solution:
- Check external network, restore network to complete initial data synchronization.
- If network restoration is impossible, use an older synchronized account to log in.
- Issue: No “Take Orders” feature after login
- Possible Causes: Account lacks “Order Center” permissions, or order taking feature not enabled
- Solution:
- Check BO permissions (add “Order Management” role)
- Go to【Settings → Order Taking Settings】, ensure the “Enable Order Center” switch is on.
- Issue: Data cannot load after device binding
- Possible Causes: Unstable network, interrupted data sync
- Solution:
- Click【Resync】and wait for data synchronization to complete (“Sync progress 100%”).
- If sync fails, restart POS and retry.
6.2 Account Password Reset
6.2.1 Employee PIN Code Reset (Admin)
-
Step 1: Login to BO, go to【Employee Account】, find the target employee.
-
Step 2: Click【Edit】in the【PIN Code Settings】section, click【Reset PIN Code】
-
Step 3: Choose reset method:
- Auto-generate: System generates a 6-digit random PIN code (e.g., “825613”).
- Manual Set: Input a 4-6 digit custom PIN code (must comply with group PIN code format)
-
Step 4: Click【Save】, inform the employee of the new PIN code; they use it for the next login.
6.2.2 Employee Password Self-Reset (Only supported online)
- On the login page, the Employee clicks【Forgot Password】, redirecting to the password reset page.
- Enter【Login Name + Bound Phone Number】(phone number provided when adding Employee on BO).
- Click【Get Verification Code】, receive and input SMS verification code.
- Enter a new password (6-12 characters, including letters + numbers) and confirm the password, then click 【Reset】
- Upon successful reset, log in using the new password.
7 Logout and Lock Screen Operations
7.1 Manual Logout
- While logged in, click【More→Logout】on the main menu.
- A pop-up will prompt “Confirm logout? Unfinished orders will be paused,” click【Confirm】to logout to the login screen.
7.2 Automatic Lock Screen
-
The system defaults to “Automatic Lock Screen” (can be disabled in【Settings → Security Settings】):
- After 3 minutes of inactivity, the screen locks and displays “Enter PIN Code to unlock.”
-
Unlocking: Enter the current login account’s PIN code (employee account) or password (Employee account); upon verification, the page is restored.